Decentralization with ease: Stereum - your one-stop tool for Ethereum Node installation, setup, and management.
LAUNCHER
STAKE YOUR PATH
BECOME A NODE RUNNER
RUN YOUR OWN NODE TODAY WITH STEREUM
BECOME A NODE RUNNER
RUN YOUR OWN NODE TODAY WITH STEREUM
DONATE TO THE PROJECT
Stereum is a toolkit to simplify the process of setting up and
maintaining an Ethereum Node. Our efforts focus on helping to
decentralize the Ethereum network even further by lessening the
technical entry barrier for the average person to stake their own
coins using their own machines, as well as the possibility to run
different node related protocols through Stereum.
Our Ethereum Node Installation, Setup & Management tool aims to be the
most flexible way to leverage your node for ETH staking, data science
dApp hosting & development. We hope to explore every hermit’s dream
with you!
CONTINUATION

COMPLETE ROADMAP
We openly share our development roadmap for Stereum. Take a look at current course we are heading in & especially where we are coming from! You can expect a ton of new features to help you in assisting setting up & managing different kind of Ethereum Nodes & protocols!
CULTIVATION
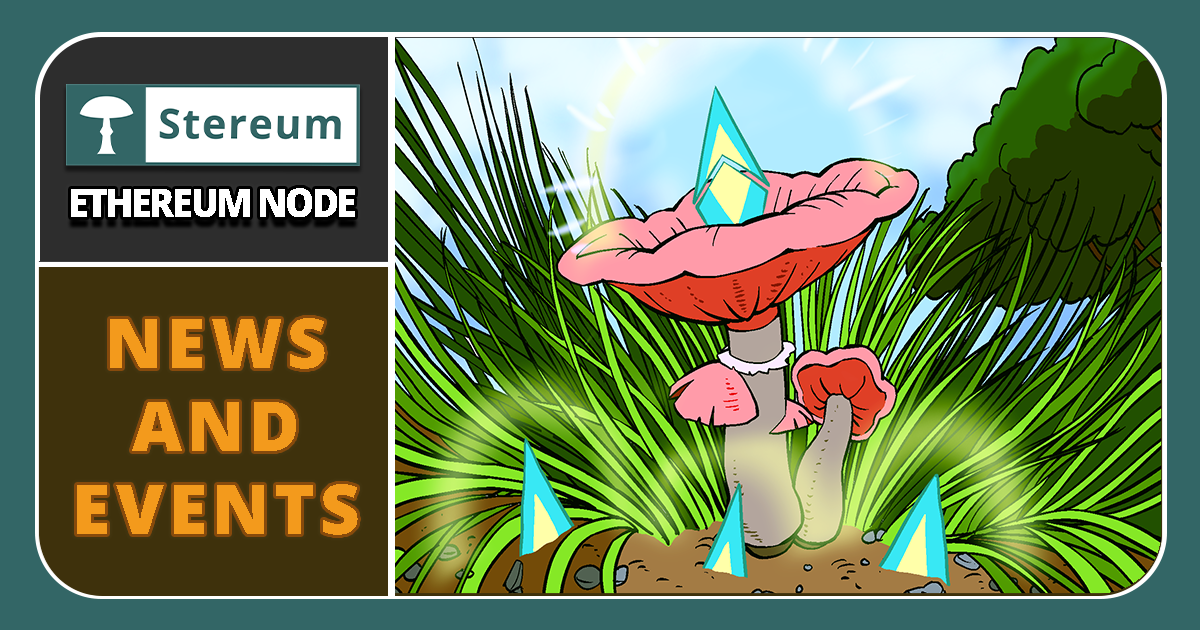
NEWS & EVENTS
Get your news updates & gain insight into the upcoming plans, development & changes of Stereum . Want to know more? Why not chat with the team on Discord?
CONTRIBUTION
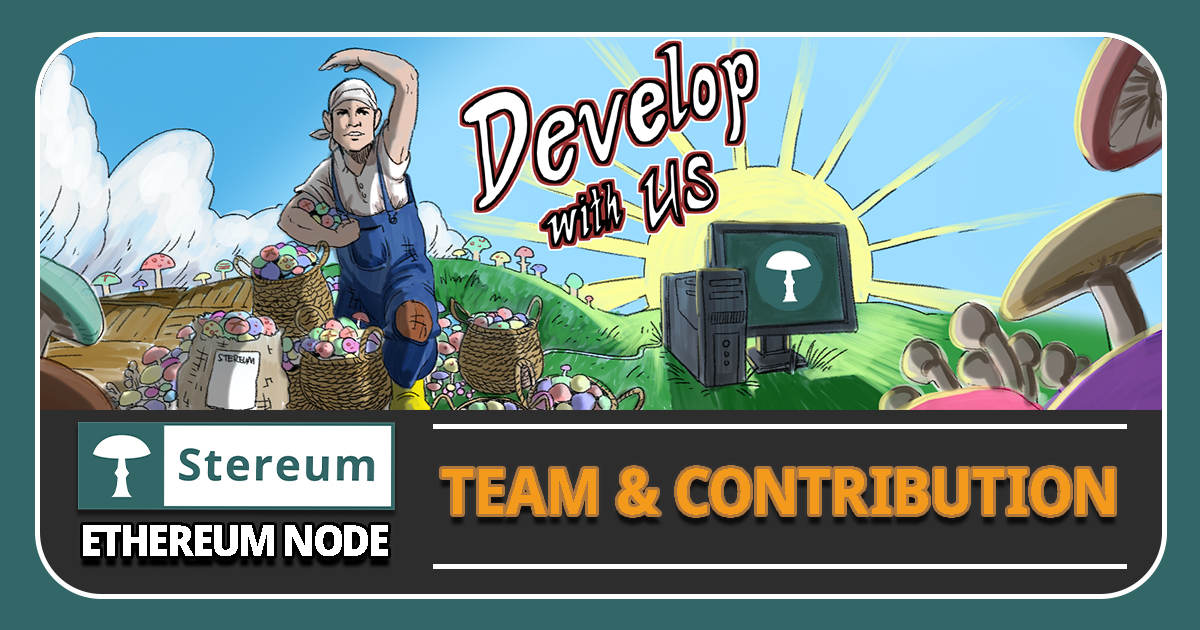
CONTRIBUTION BOARD
Get involved! You can actively guide the development with your suggestions / feedback / critique and even technical contribution on Github! With this you can also immortalize your name in Stereum's Credits!
SERVICES & TOOLS
We offer these tools as a service to our community. If you encounter any bugs or exploits while using them, please let us know so we can address these issues!

STEREUM NODE MONITOR APP
Download the Stereum Node Monitor app and receive alerts to get alerted about performance issues
GET A HOLESKY VALIDATOR KEY
Join the Discord and use /keyreum_release command to borrow a testnet key to test your staking setup with
USE THE TESTNET ETH FAUCET
Get yourself some free testnet ETH to freely play around with!
NEWS
Stay updated with the latest advancements, updates, and events from the world of Stereum. Dive deep into our journey of making Ethereum Node management simpler and more accessible. From general news, over development updates to community events, get all the information you need right here.
At Stereum, we're not just building tools; we're fostering an Open Source community! Our commitment to transparency and collaboration is unwavering, so explore, engage, and empower yourself with the most recent happenings and be a part of our mission to make decentralized technology more approachable for everyone!

Events
SUPPORTERS & PARTNERS

Thank you for supporting us!